A while ago, i got the oppertunity to 3D- scan my head with a professional scanner. The scanner picked up very tiny details, but the raw mesh output had to be cleaned and modified heavily. This is a capture of the raw scan before fixing, and making myself more beautiful.
After fixing the mesh, and adding a pedestal, i got got a printable file. Now my megalomaniac tendencies have been satisfied, and i can sleep well tonigth.
New portfolio: nordvikmanifestation.portfoliobox.net
Showing posts with label fellesverkstedet. Show all posts
Assembling giant vacuum wall
Months ago i agreed on designing and manufacture a 2100x2500 vacuum wall for Norwegian artist pushwagner´s photo studio.
After producing the technical drawings, the contract was signed, and the product taken into production at Fellesverkstedet
Below are som photos from the production of the vacuum wall.
The vacuumwall must be adjustable. Therefore, mechanical valves where added in form of PE slides.
As a consequence of this, the vall became very thick, and several hundred screws had to be used to keep it from imploding from the underpressure.
This is one of the two halves making up the vacuum wall under assembly.
Here, the two halves of the vacuum table stands ready for delivery and mounting at the customers photo studio:
Labels:
bitraf,
cnc,
countersink,
fellesverkstedet,
helgesen,
nordvik,
pushwagner,
shopbot,
torbjørn
Testing out 3D milling in Fusion 360 once more
Today i did some more testing of Fusion 360`s CAM module.
I made a sample 100 X 100 X 50 body, then made a T-spline plane ontop of it. I then gave it some random topography to work with.
After boundary filling , the part is ready for Toolpath generation!
I intended to run the first files in foam, so i ramped up the feedrate to 3000mm/min @ 15000 RPM.
I used 10mm two flute HSS tools from GARR for this job, a ballnose for the topography, then a flat end for cutting out the part.
The results where good! At 2,5 mm stepover, the toolpaths are clearly visible.
I continued to use the same file for testing in wood. This was made using only adaptive clearing with a HSS 1FL6 from norswiss.
Pulsejet sled update
Finaly got the time to do some welding on the Pulsejet powered sled. i added the reinforcement bars at the back, and prepared the aluminium bracket for welding. The jet sled is currently being exhibited at NDC oslo 2016 together with my hexapod.
Labels:
3D printing,
aluminium,
bitraf,
fablab,
fellesverkstedet,
freelance,
makerspace,
manifestation,
powered,
pulsejet,
sled
Dust extraction for the shopbot
Today me and and Jens Dyvik assembled the new dust extractor for one of the shopbots.
The parts were previously milled out by Jens, using his CAM plugin for rhino, called barkbeetle.
Barkbetle can stream to our projector, so that we can preview files before we run them.
Seen here is the finished parts, along with the prewiew.
Labels:
3D,
cnc,
dyvik,
fellesverkstedet,
jens,
nordvik,
projection,
shopbot,
torbjørn
Hexapod
Just testing the limit on how many components you can include in a 3D preview from Autodesk 360. Quite a few apearently. The explode view function is intresting.
Labels:
3D printing,
aluminium,
antenna,
autodesk,
carbide,
carbon,
carbon fiber,
drone,
dynamixel,
fellesverkstedet,
fusion 360,
hexapod,
logo,
makespace,
manifestation,
nordvik,
torbjørn
creating a bar stool using a CNC jig
Tig welding is a precise way of welding. Execelent quality welds can be performed, but, as in most trades, the key to good welding, is good workholding. By using a CNC cut jig, the job gets done quicker, more precise, and the repeatability is good.
In this case, the angle of the stool egs were critical. Jens Dyvik scetched out a rhino model, and cut the parts on the shopbot. Then the jig were assembled, and the Steel tubes put into position before welding.
Here, the stool is welded, and as soon as it cools down, the client will be able to bring it home!
oven made from a trashcan!
Our casting oven is now operational!
Made from a trashcan, it is not pretty, but is does wok very well!
Labels:
bronze,
casting,
fablab,
fellesverkstedet,
harddrive,
makespace,
manifestation,
nordvik
Casting sheets of wax
Or, at atleast we tried.
This is the mold, in wich we were to cast the molten wax.
Here we see Jens dyvik melting a batch of machinable wax.
Abort mission! Abort mission! Its turns out pouring hot liquid on a plastic mold wasn't a good idea. the mold started to deform and rise, so all the wax started to run to the edges.
Labels:
casting,
fablab,
fellesverkstedet,
wax
More welding with jigs!
After learning to make jigs with the CNC, this artist then welded his piece together in the jig.
Welding large, but acurate structures becomes easy when you use a jig.
This jig was made from scrap materials.
It is important to ensure that your workpiece is properly grounded when welding. This connection is done wia this clamp, wich is connected to the welding machine.
CNC + welding; a perfect match!
A lot of people describe welding as an course, unprecise proces. TIG welding is another story. With no sparks, little smoke, and no dirty afterprocessing needed, it is the perfect welding process for a fablab.
And, if you combine it with CNC machines for jig making, you can make very precise parts!
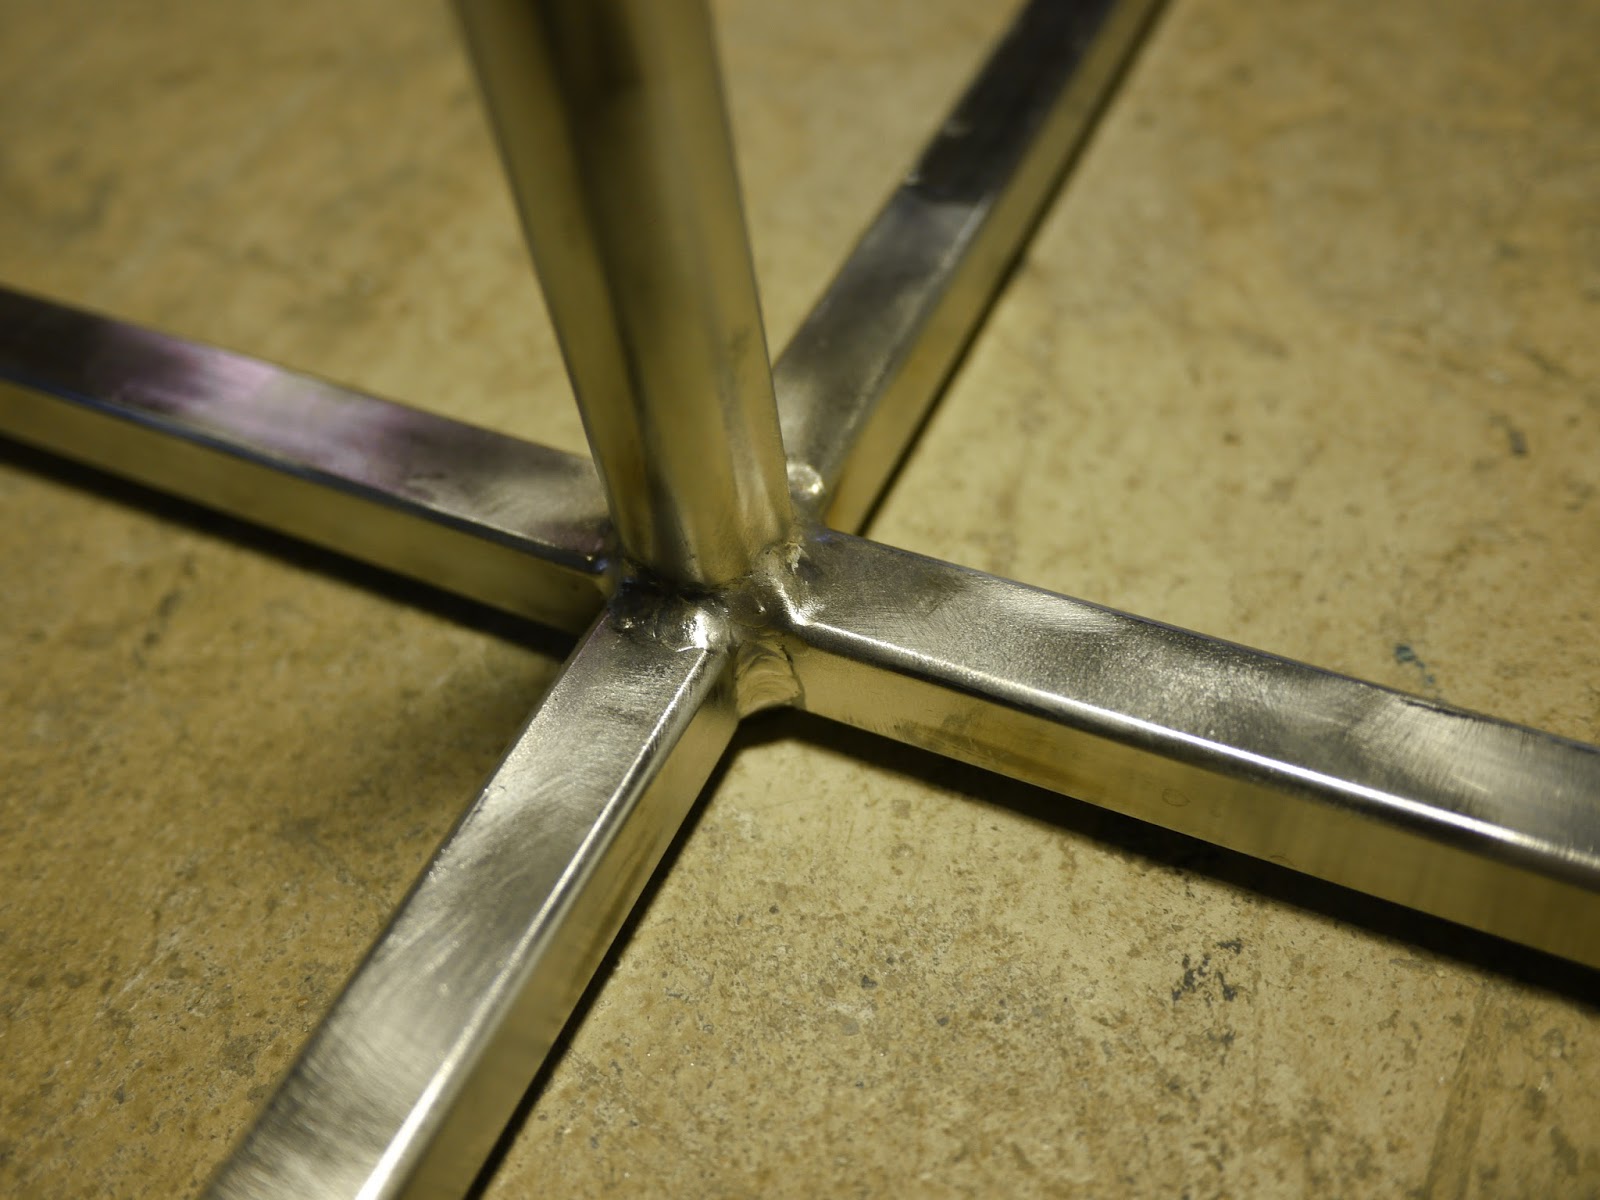
Here is a job i was comissioned this week: welding a steel frame with a central tube.
The jig has been machined on the CNC router
This is our bandsaw. It is slow, but very precise.
For the optimal result, all parts should be clean and without grease.
The parts has been put in place in the jig, and is ready for welding. The fume extractor is an important piece of equipment, as metal fumes can be highly toxic.
A finnished weld.
The central joint. These welds has been brushed with a drill powered wirebrush.
The jig has done its job, and can now be thrown away, or the material could be used for other projects.
Diving deeper into the world of CNC: creating hidden joints
As we needed a box to keep all the sand casting stuff in, i designed and produced this box. The special thing about this is that the joints are hidden between the interlocking edges of the box.
The box was designed in fusion 360.
Then milled on the shopbot. The shopbot is extremely precicise, it all came together with a few blows with the hammer here and there.
A closeup of the joint halfway in the assembly proces.
A very clean interior is the result of the hidden joint method.
I used this strap to keep together under the assebly process.
This is the box filled with sand. The lid is handy for keeping the sand dry.
Labels:
fablab,
fellesverkstedet,
fusion 360
My first CNC cut part!
With much needed help from Jens Dyvik, i made the cutting surface for my CNC router out of valchromat, denser and coloured type of MDF. It is realy sturdy, i am sure this will do the job!
Labels:
cnc,
fellesverkstedet
Subscribe to:
Posts (Atom)