Showing posts with label steel. Show all posts

CN milled catapult

Ever since seeing this little 3D-printed catapult, i knew i had to build a better one. so i designed a bigger and more powerfull one in aluminium.


i used Fusion 360's adaptive clearing to remove the bulk of material, then fiunished of the pieces with contouring rounds.


Here, the parts are laid out for the assembly:


The spring assembly was constructed by layers of 1mm plywood, later knitted around, so that they are still able to slide, but not separate


Of course, i had to use a 3D-printed wrench to assemble it:


The arm was riveted to the main axle:


And here it is, in all it's glory besides the smaller 3D- printed catapult, and the printer who printed the small one.


3D milling aluminium and stainless steel

This weekend i held courses in Fusion 360 at Bitraf. We started of with a course aimed for people without any 3D modelling experience on friday, then went trough some of the more advanced functions on saturday, before moving on to the CAM function and 3D printing on sunday.

On saturday i lectured about assembly in fusion, and the difference between bodies and components, and how to structure the file when building an assembly with moving parts. The case for this weekend was this machinist vise, as we then could use the model when we were milling on sunday.


After modelling the vise, we modelled a test case, 60x60x100 with some random topografy for testing out Fusion CAM's adaptive clearing. As we now had a 3D model of the vise, we could now easly activate collision detection, aswell as grabbing the necesary geometry for mounting the vise to our machine.


As this weekends goal was to experiment with 3D milling, we also tried some different finishing strategies. For aluminium, what worked best where a 6mm singleflute ballmill. Above is a rendered image of the vice, with the finishing toolpath projected on to it using gimp.


The machining process leaves a mess, but since i where using adaptive clearing, it's a uniform mess. All the chips are uniform, since the tool cut the material with a constant load.
I did several tests with different stepdown and stepover. For each test, i let one side be finished, while the other side still had the surface from the roughing pass.


I also machined a 50x50x50 block of stainless steel, this was the result:


This is the toolpath for the steel block. The model was produced by warping a hexagon along an the center axis. As the material was stainless steel, the stepdown was kept low at 0.2mm, but the feedrate high at 1600 mm/min.


The three samples sitting at my desk after a long weekend. i have now aquired the knowledge needed for producing my first injection mold.


creating a bar stool using a CNC jig

Tig welding is a precise way of welding. Execelent quality welds can be performed, but, as in most trades, the key to good welding, is good workholding. By using a CNC cut jig, the job gets done quicker, more precise, and the repeatability is good.

In this case, the angle of the stool egs were critical. Jens Dyvik scetched out a rhino model, and cut the parts on the shopbot. Then the jig were assembled, and the Steel tubes put into position before welding.


Here, the stool is welded, and as soon as it cools down, the client will be able to bring it home!


Milling steel on the shopbot

The OCD tingler! As we were doing some exeriments with cutting steel on the shopbot, we made this:

A binary dice made of steel, with some brass gears put inside before welded shut. The dice measures 50 x 50 x 50, and weighs in at 320 G. We cut the steel with casemaker pattern at 10mm/sek with a three flute 6mm bit, 1,5 mm at each pass.

The pieces where welded together at 50 amp with our TIG welder.


CNC + welding; a perfect match!

A lot of people describe welding as an course, unprecise proces. TIG welding is another story. With no sparks, little smoke, and no dirty afterprocessing needed, it is the perfect welding process for a fablab. 

And, if you combine it with CNC machines for jig making, you can make very precise parts!
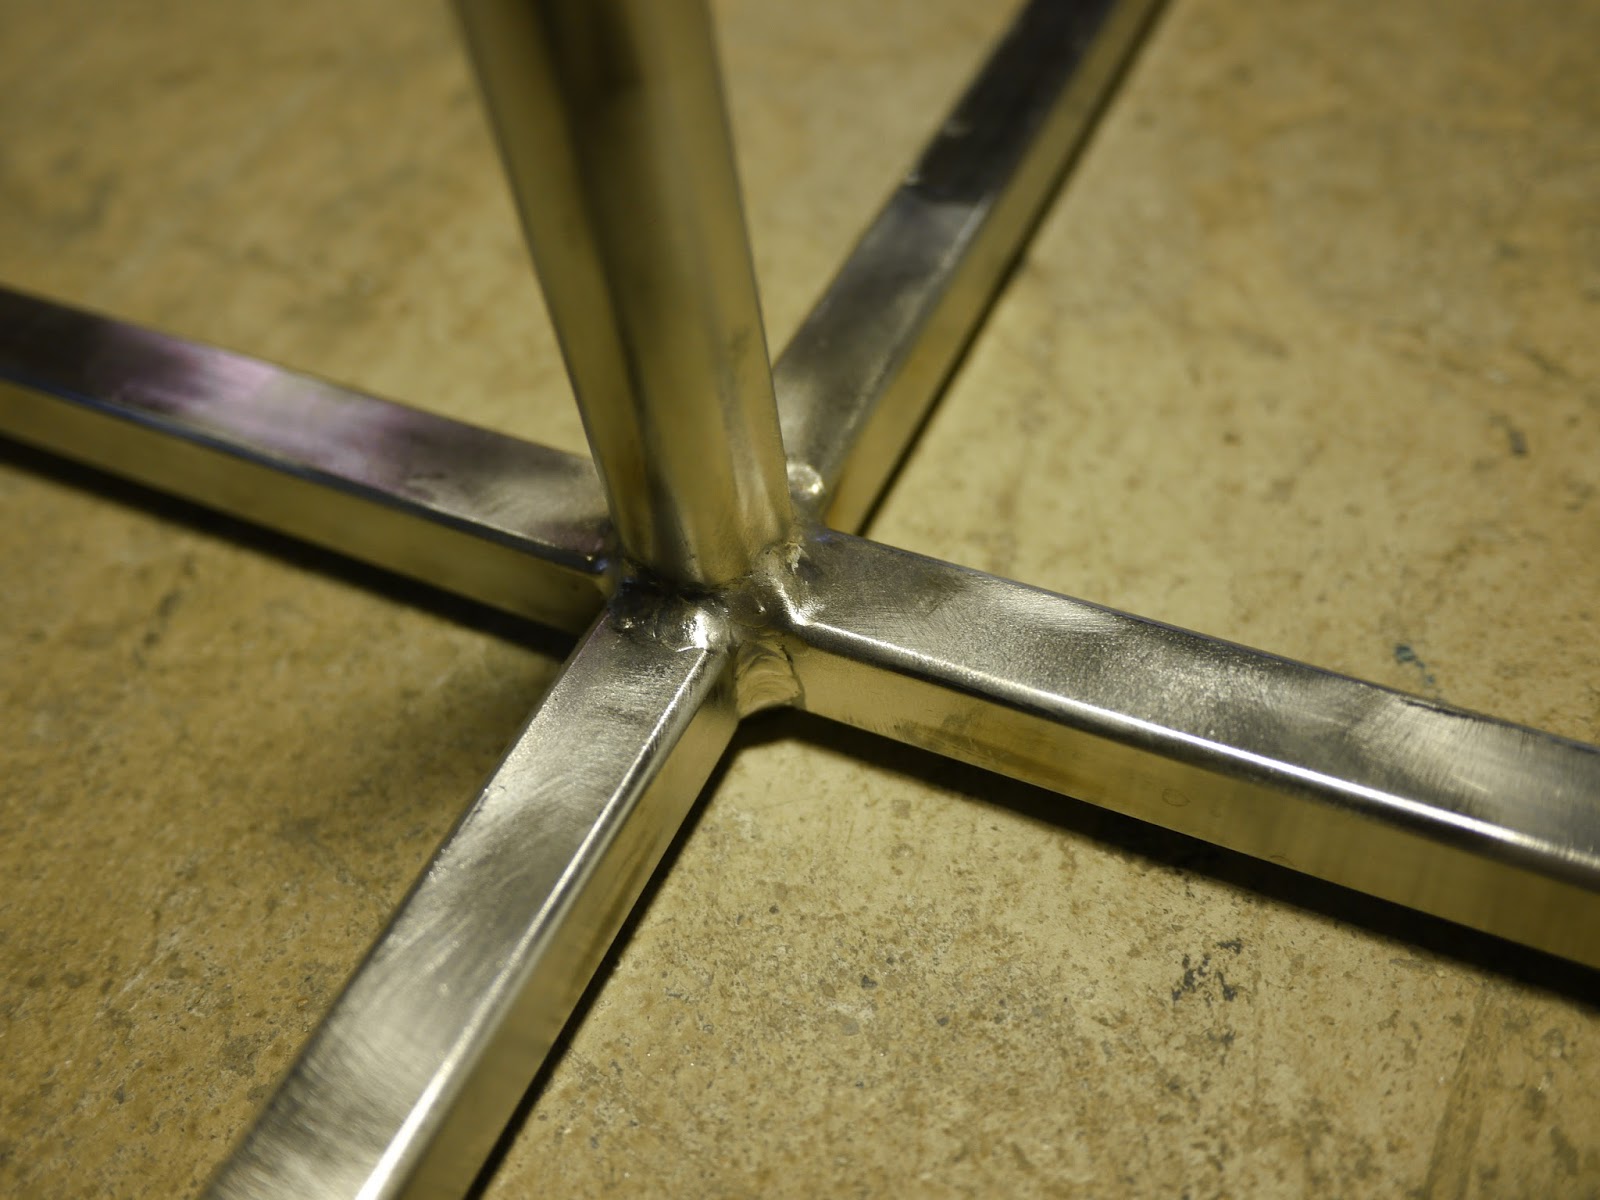
Here is a job i was comissioned this week: welding a steel frame with a central tube.


The jig has been machined on the CNC router


This is our bandsaw. It is slow, but very precise.


For the optimal result, all parts should be clean and without grease.


The parts has been put in place in the jig, and is ready for welding. The fume extractor is an important piece of equipment, as metal fumes can be highly toxic.


A finnished weld.


The central joint. These welds has been brushed with a drill powered wirebrush.


The jig has done its job, and can now be thrown away, or the material could be used for other projects.


animaliordinari Proudly Powered by Blogger