We love our fancy computer controlled machines at our fablabs. But, sometimes we have to dust of the old manual mills and lathes to either produce an entire part, or do finishing operations on a Previously CNC´ ed part.
yesterday i used bitraf´s machinery to do finishing operations on parts for my hexapod. also, i tried fusion 360´s adaptive clearing strategy on aluminium for the first time. i am happy with the results.
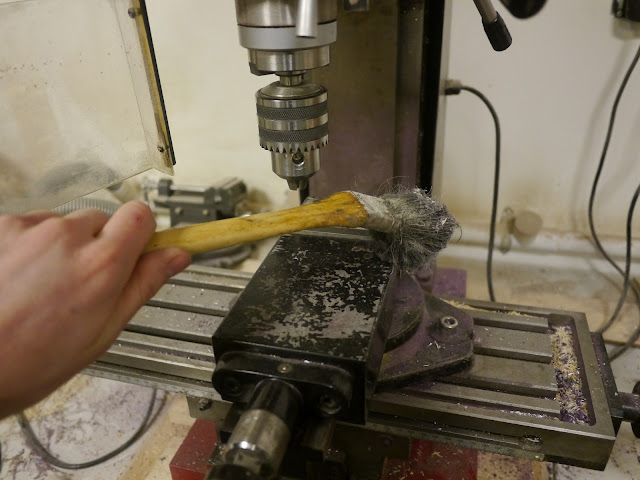
Always start with a clean machine! Even a tiny chip clamped between the vice and part will mar the surface of your part, and throw it out of alignment!
This machine needed a good round of brushing, vacuuming and oil before the work could start.
Having machined these two parts from one side on our shopbot, i had to manualy machine and thread the holes and mill recesess for screwholes.
The `affected` areas is marked in red on this screenshot:
As the parts where odly shaped, i used parralel blocks to be sure they where properl clamped in the vice, and at the rigth heigth.
Having measured and marked my parts, i put in centerholes to aling the drillhead.
Here i put in a 2,5 MM hole, prepearing the part to take a M3 thread.
I ran this bit @ 2500 RPM without coolant.
It was necesary to drill through the first feature with the 2,5bit, to reach down into the part.
To alow an M3 capscrew to enter into the part, i milled a recess with a 5,5mm endmill, then bored it with a 6mm drillbit. Following that, i knocked of the edge using a countersink.
This one has three flutes, and are typicaly best used at RPM´s not exeeding 500.
Here the parts has been flipped in the vice.
Left to the drillbit, the holes from the previous operations is visible.
To rigth, near the end of the parts, there is wisible remains of the tabs from the CNC operation. They where a bit execesive, but they will not be visible, so i will not remove them.
This milling machine is very easy to operate, with only a few switches to operate. it also doubles as a drillpress, leaving more space for other machines in the worksop. with simple mahines like this, it is advised to not change gear while it is running, as that will ruin the gearbox.
Milling a recess with a two-flute endmil. This one measured 5mm. I had to run this slow at 400 RPM, to keep vibrations down.
Tapping a hole for M3. The oversized hole i am sticking the threading tool throgh, will let the screwhead sit flush in the part.
Here is the finished part, ready to be installed into the robot.
The tools used for these operations. The next pictures shows operations on another part.
Had to turn down some M4 screws to atach the freshly manufactured parts to the robot. Having a small metal lathe in the lab is very usefull!
This is the sensor assebly for my hexapod. it will move just like a animatronic eye, alowing the operator of the machine to navigate independent of the direction of the main body.
Yesterday i milled the yellow big ring on the shopbot, it requires CNC machinig from four sides, so this is a proper test of the shopbot.
The first test of fusion code in aluminium.
1mm each pass at 8mm/sek with a singleflute 6mm carbide endmill.
Here the part has been machined from both sides, cut loose and ready for turning.
when cutting the outher diameter of the ring on the shopbot, i ran it at 8mm/sek, an a depth of 5mm with the same bit as previous operations.
This was way to deep, and so it resulted in chatter and chip weldig. therefore, i touched up the surface in the lathe.
Our lathe is very precise, and capable of high speeds, leaving almost a mirror finnish.
Here the surface finish of the 3D milling is visible. i ran a 3.175 mm two flute ballmill when doing the finishing pass.
i ran it at 8mm/sek, altough i do believe that this was to slow for this bit, due to it having two flutes.


